What is an ambigram? An ambigram is a word or a group of words that can be read properly upside-down and rightside-up. It may be the same word both ways or an entirely different word. For my ambigram, I wanted to make it so it would say my first name one way and my last name the other way. I was able to do this by making certain pairings of letters work together when upside-down and rightside-up, The pairings are as follows:
A -> O P -> Y
N -> S RE -> N
TH -> IO Z -> O
O -> Z IO ->TH
N -> RE S -> N
Y -> P O -> A
N -> S RE -> N
TH -> IO Z -> O
O -> Z IO ->TH
N -> RE S -> N
Y -> P O -> A
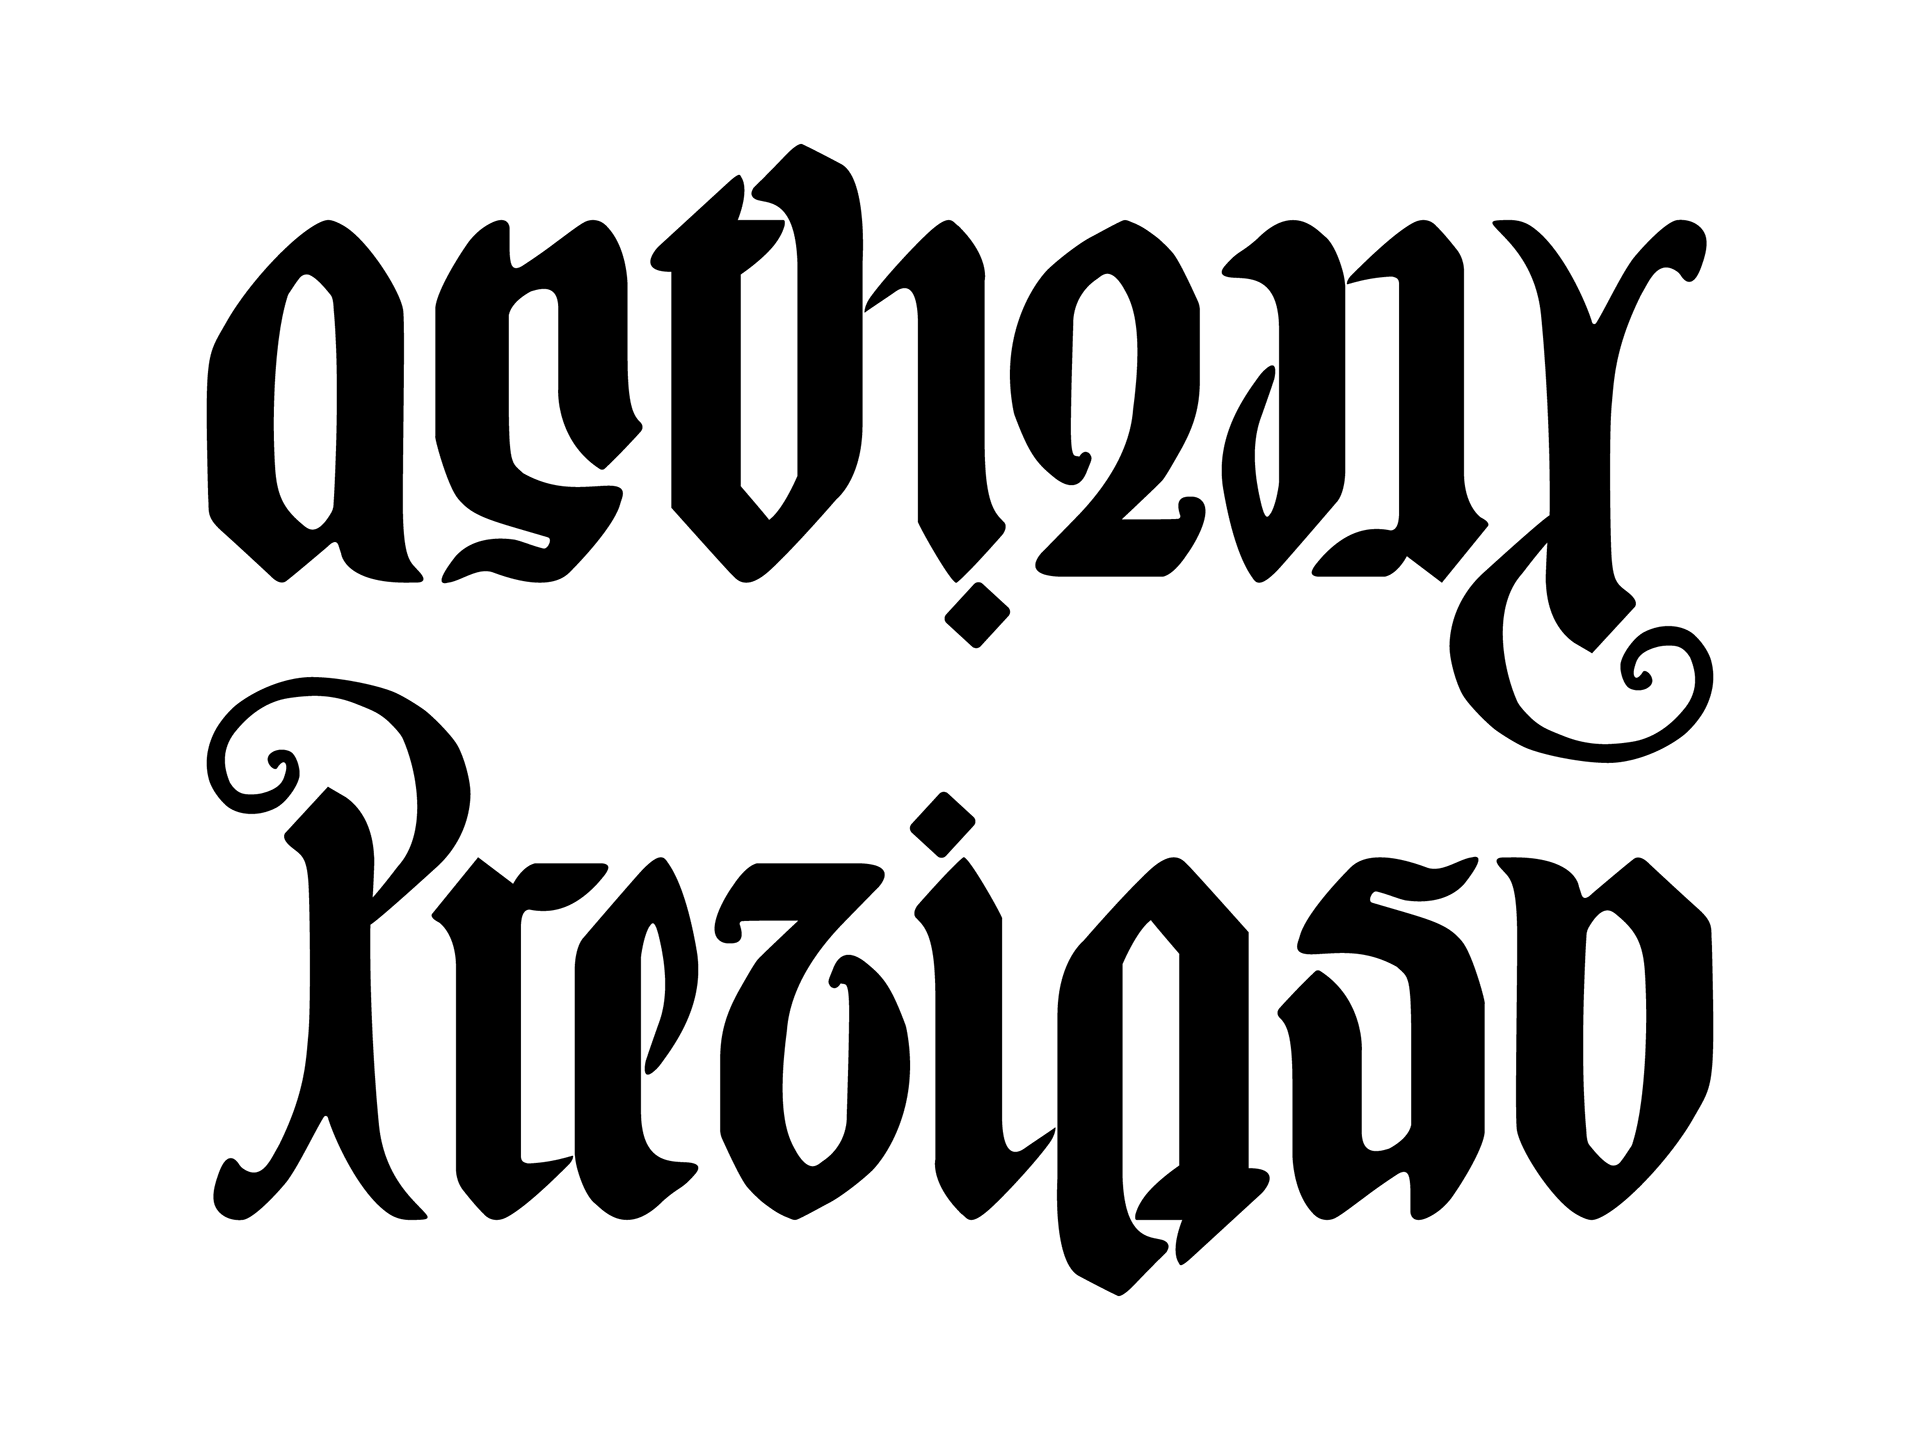
This took a lot of trial and error, especially for the pairings of one letter to two, two letters to one, or two letters to two letters. I also had a lot of trouble making the two N’s in “Anthony” and the two O’s in “Prezioso” still read as the same letter even though they had to look different. The biggest puzzle to solve was how to make the TH in “Anthony” read as IO in “Prezioso”. One little adjustment would make one side more legible but the other side would become illegible, so it was all about finding that perfect balance. You should try your own, but be warned, it takes a long time, especially at first.
Process, Sketches, and Previous Version

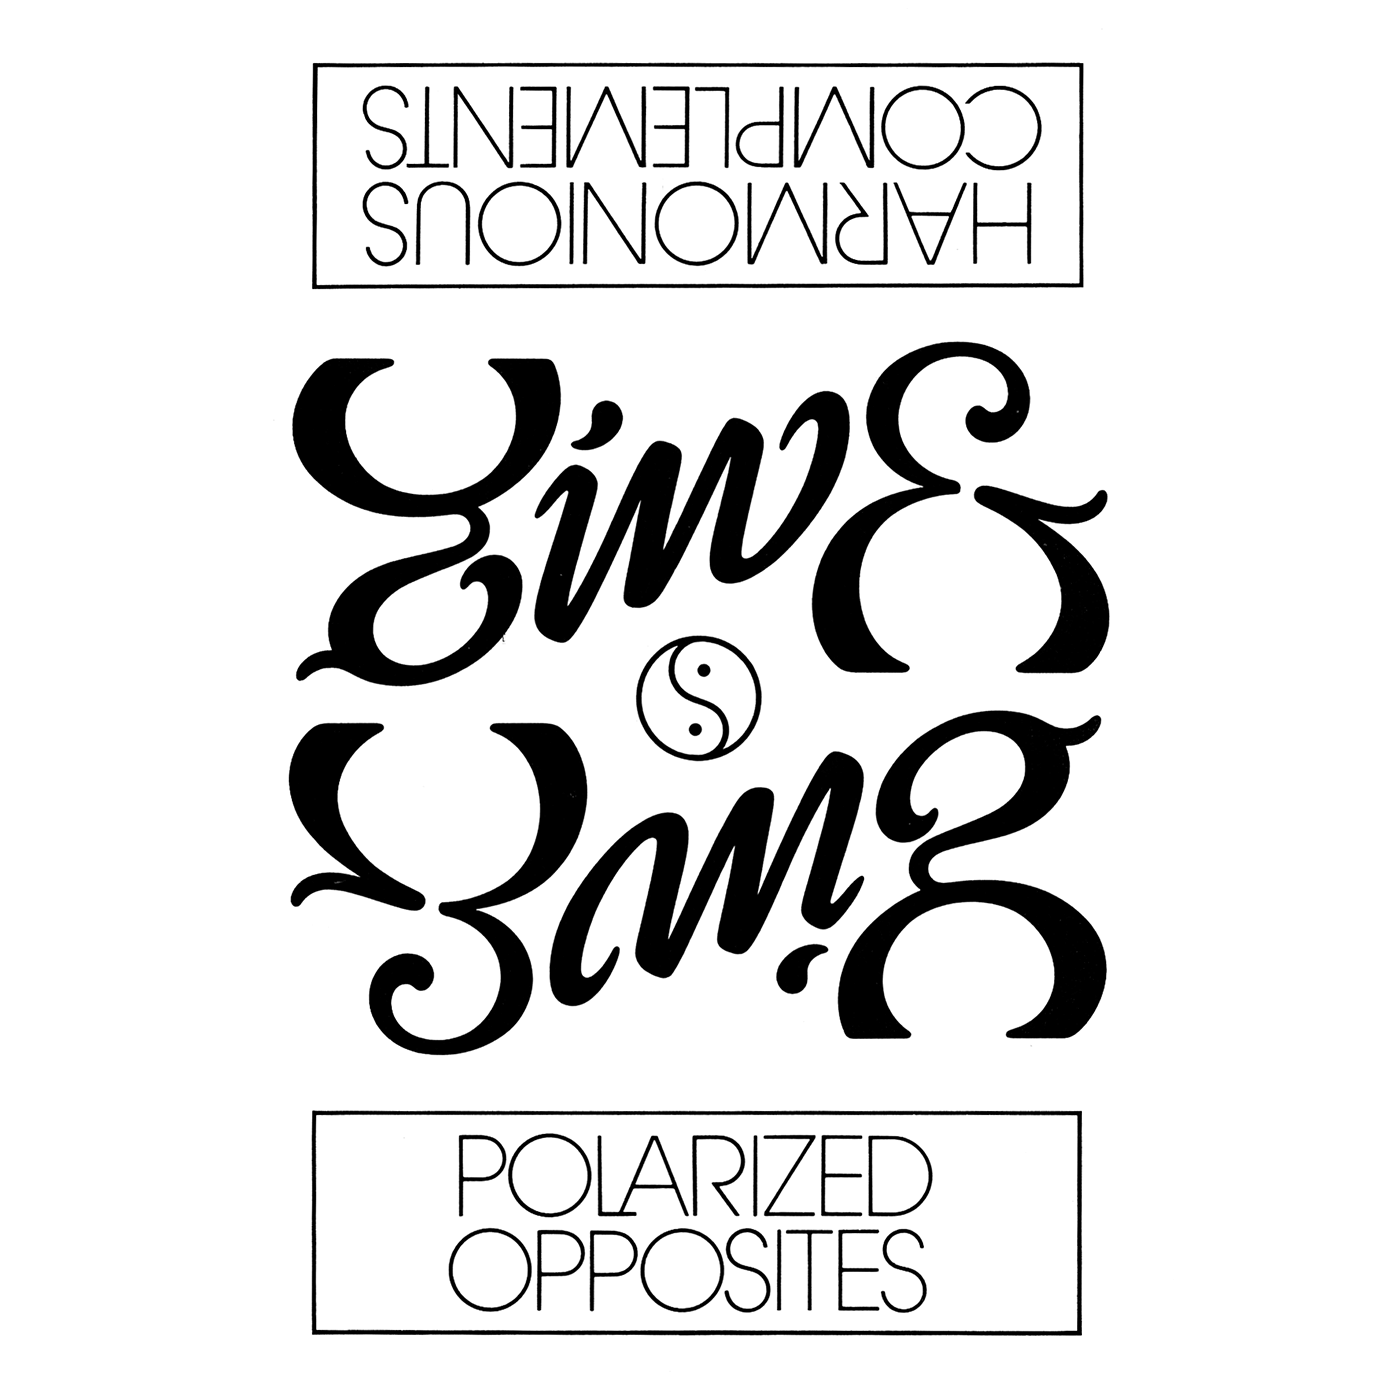

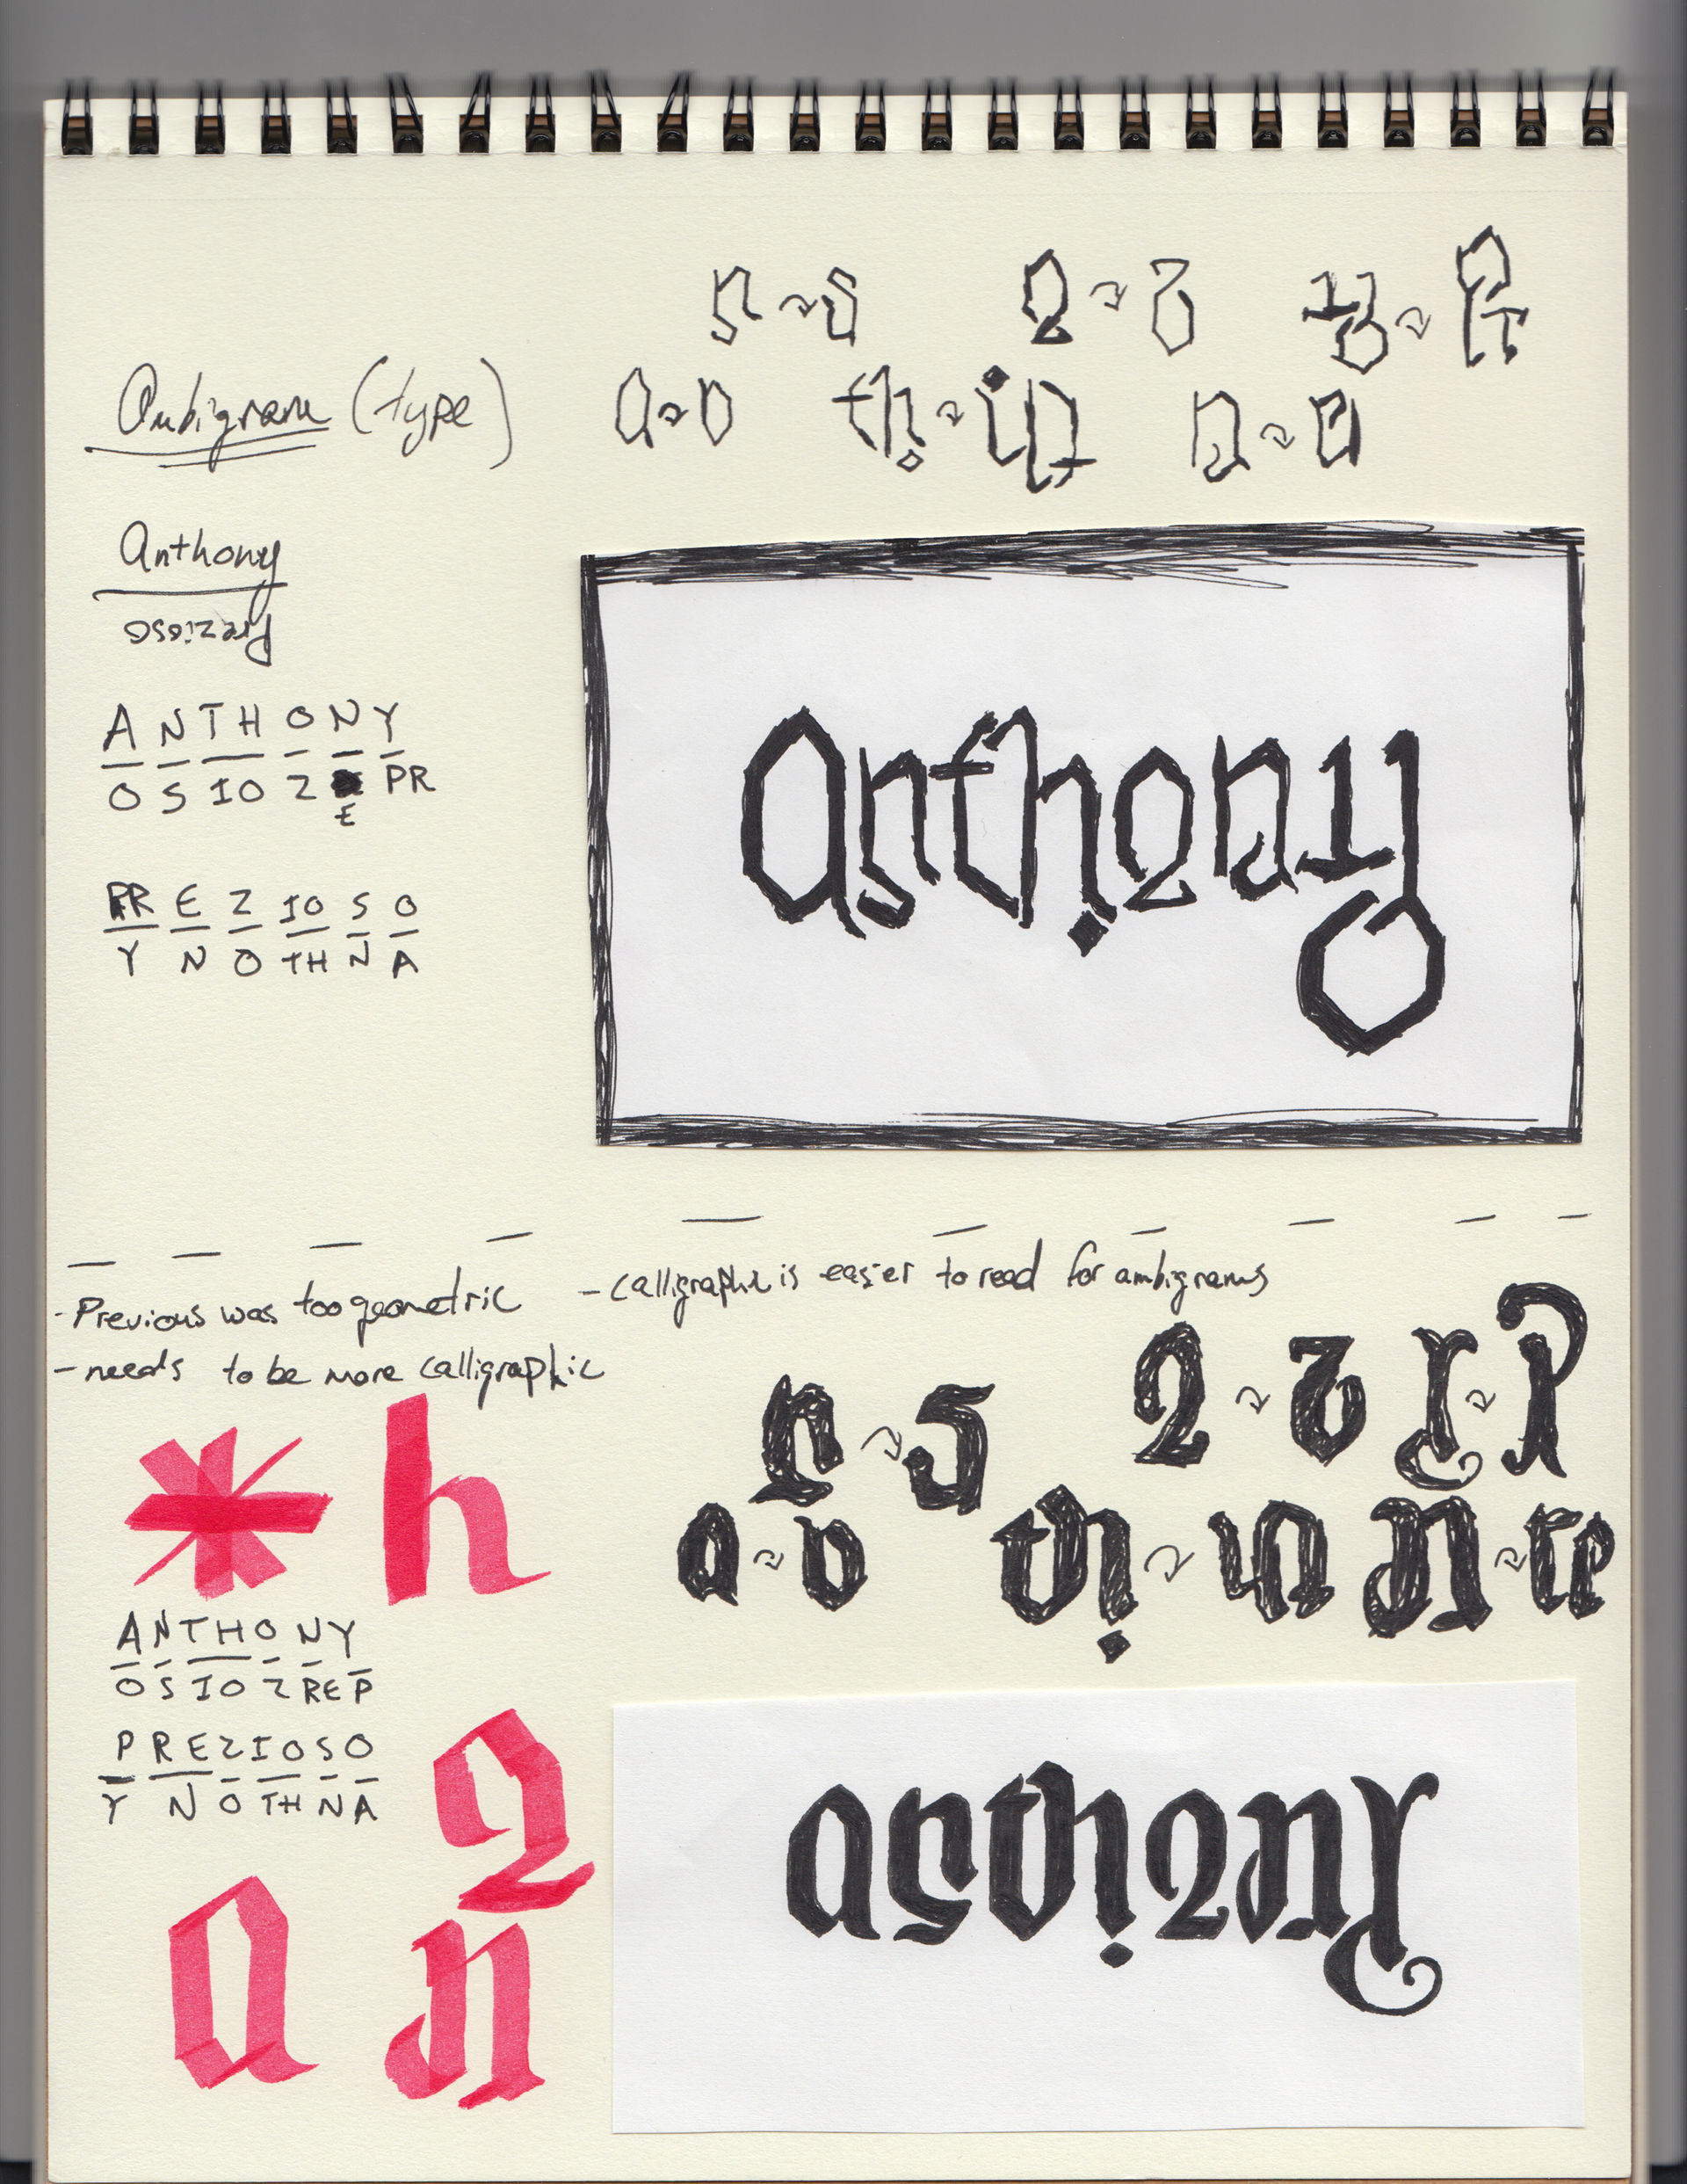
Never being that big of a creator when it comes to hand-made type or even that good for the matter, I tend to embrace more geometric style fonts than calligraphic ones when it comes to making my own type or modifying to my needs. This changed when I found out about ambigrams. Being a lover of solving puzzles, this was right up my alley. It is so difficult to find proper pairings of letters that read well when viewed at multiple angles. Using John Langdon’s ambigram book, “Wordplay”, along with samples included on this page, I was able to find relationships that could work if executed correctly. At first, my solution was too geometric, as I tend to lean that way. It was somewhat legible, but had a lot of room for improvement. Making the letters more calligraphic helped a lot, and the long process continued from there. The final hand-made version for each stage was taped in this sketchbook page. Many trials and attempts failed, but it would be worth it, though, soon.
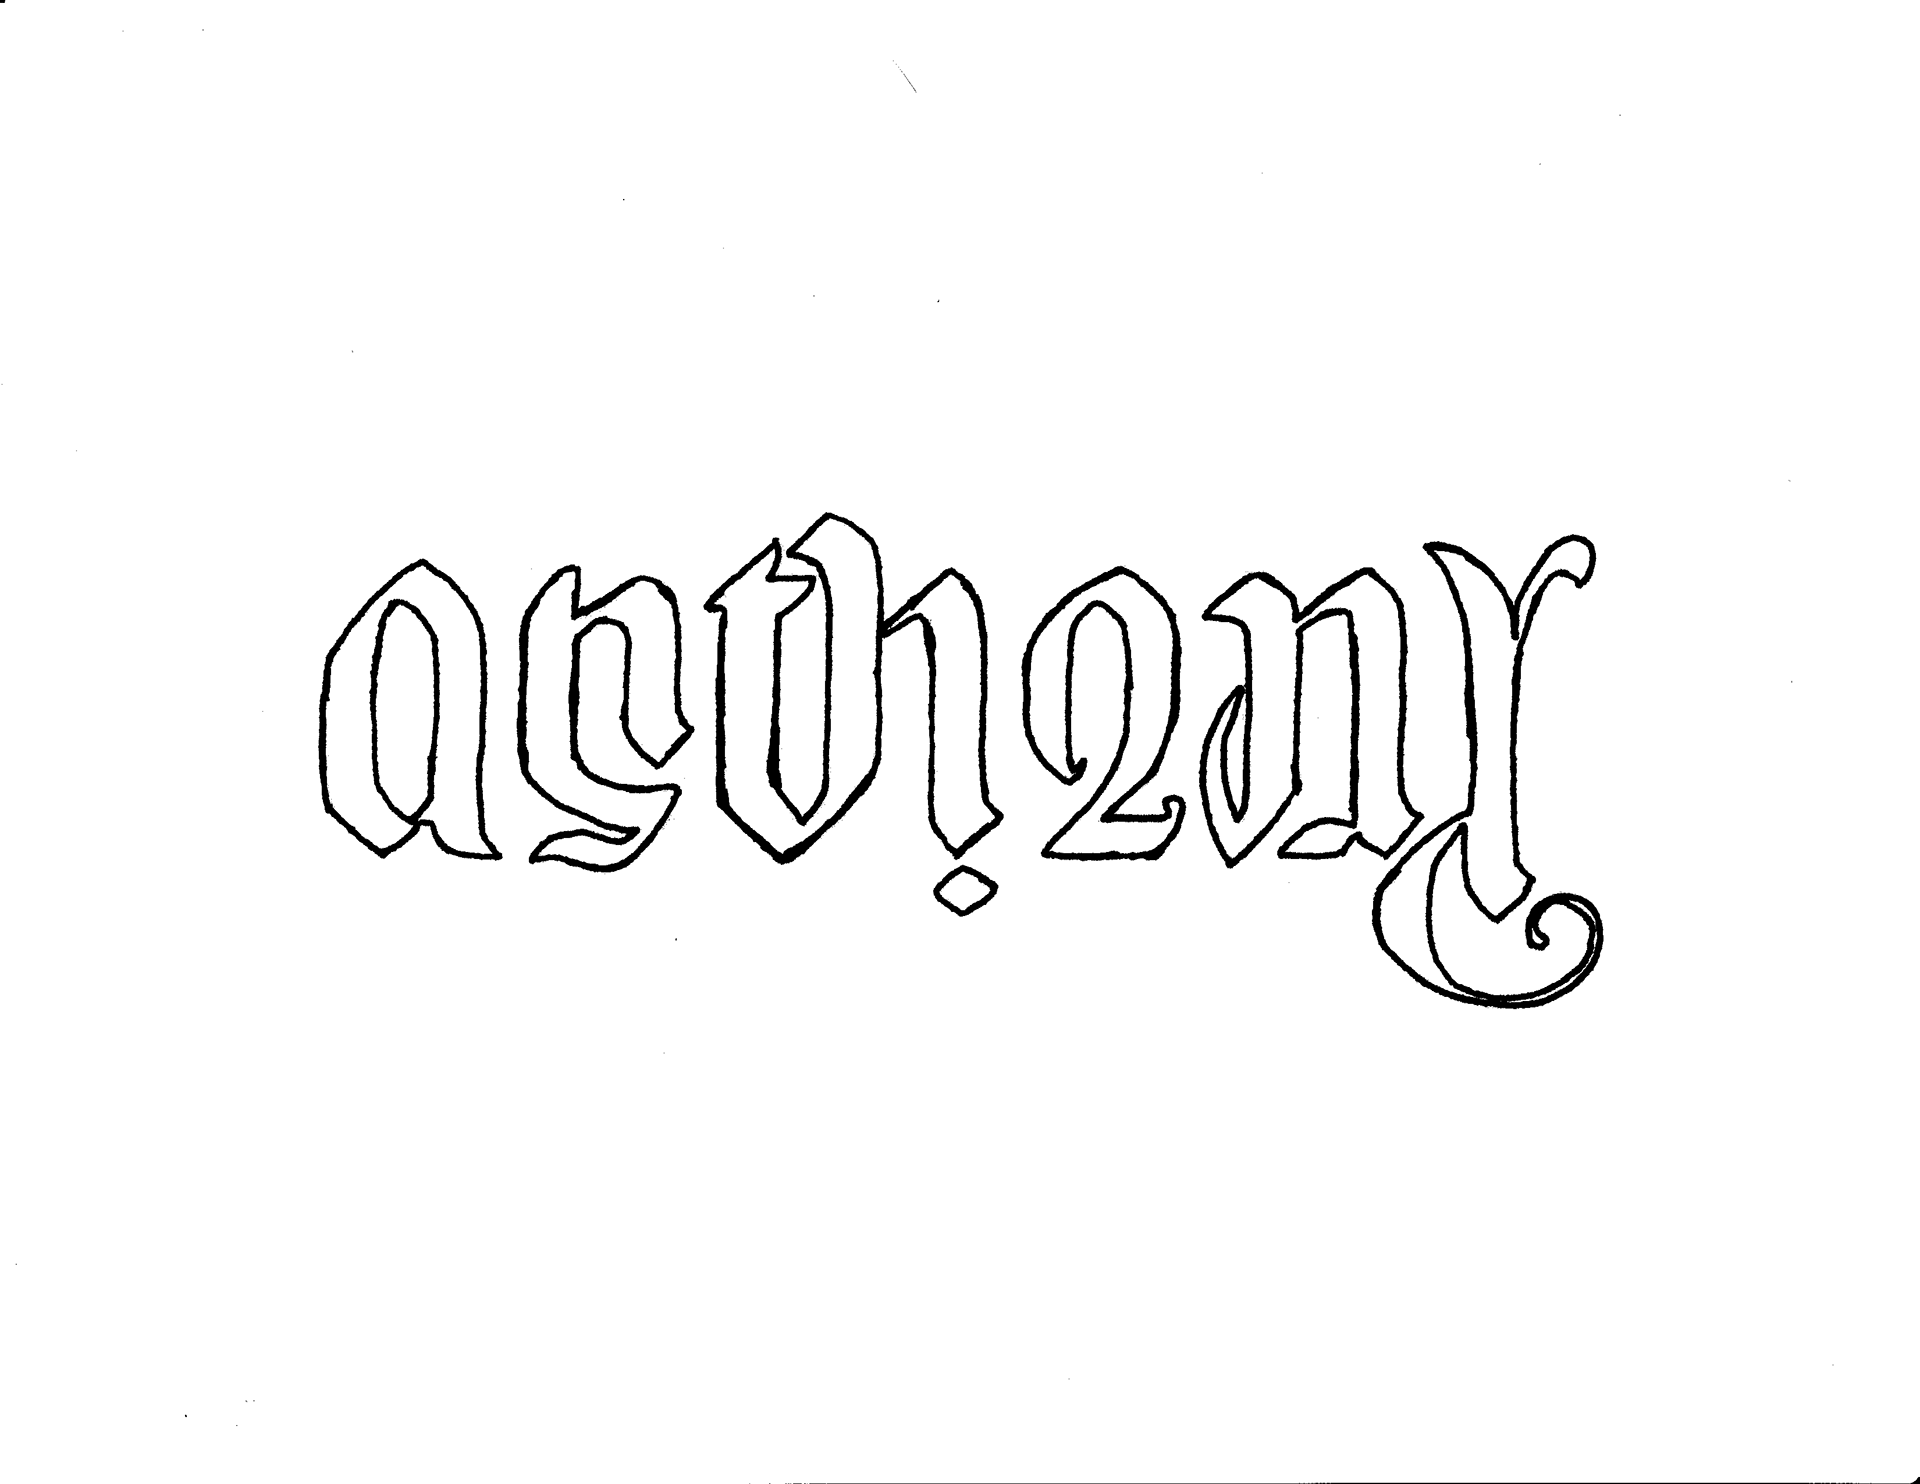
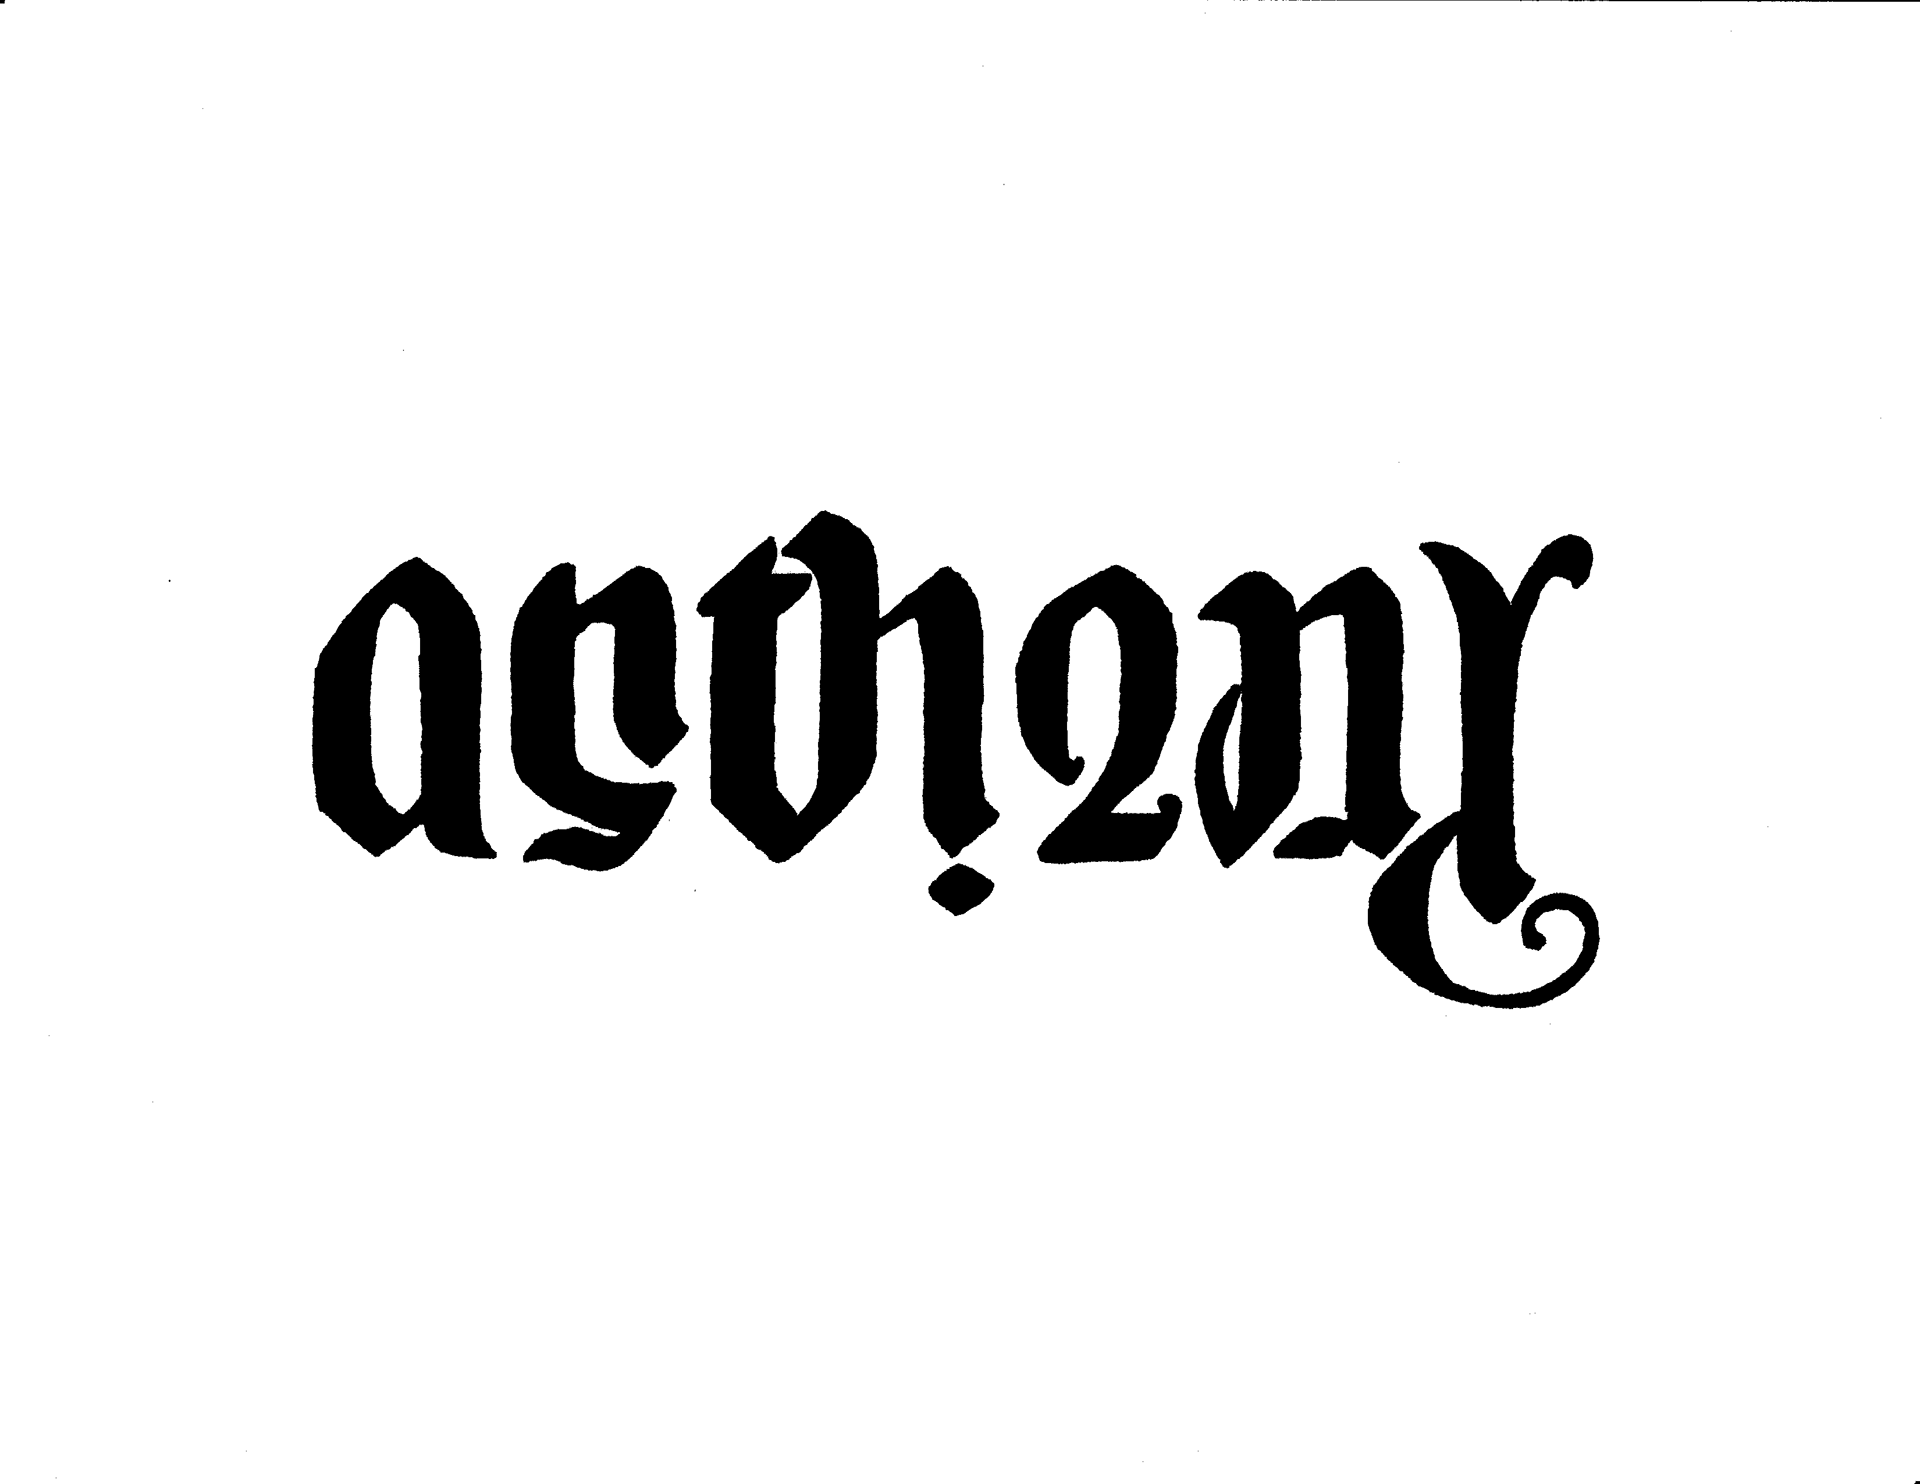
After getting a working version of the new version of the ambigram, I photo-copied it, and blew it up to take up most of a page. I then traced the outlines so it would translate better when imported to the computer, and filled in each letter. Afterwards, it was scanned into a computer to become vectored in Illustrator, then cleaned up further, and ensure that scale of letters and alignment were proper.